 Ferndale Window
 Building New in Marietta Means Getting the Windows Right the First Time
Marietta sits close to the water on the edge of Ferndale, out where Whatcom County's coastline meets low-lying farmland and tidal flats. If you're framing a new home here, the windows aren't a cosmetic decision you make at the end of the project — they're part of the building envelope, and the envelope is what stands between your house and a climate that includes salt-laden air, long stretches of wind-driven rain, and a moss season that can run most of the year. Get the window installation wrong during framing and you won't see the problem for a year or two, by which point it's hidden behind siding and trim and costs far more to fix than it would have to do correctly the first time.
New-construction window work is a different job than swapping out an old window in a finished wall. It happens before siding, before most of the weather barrier is closed up, and it has to be coordinated with the framer, the siding crew, and sometimes the stucco or masonry trade. That coordination — and getting the flashing sequence right — is really the whole job.
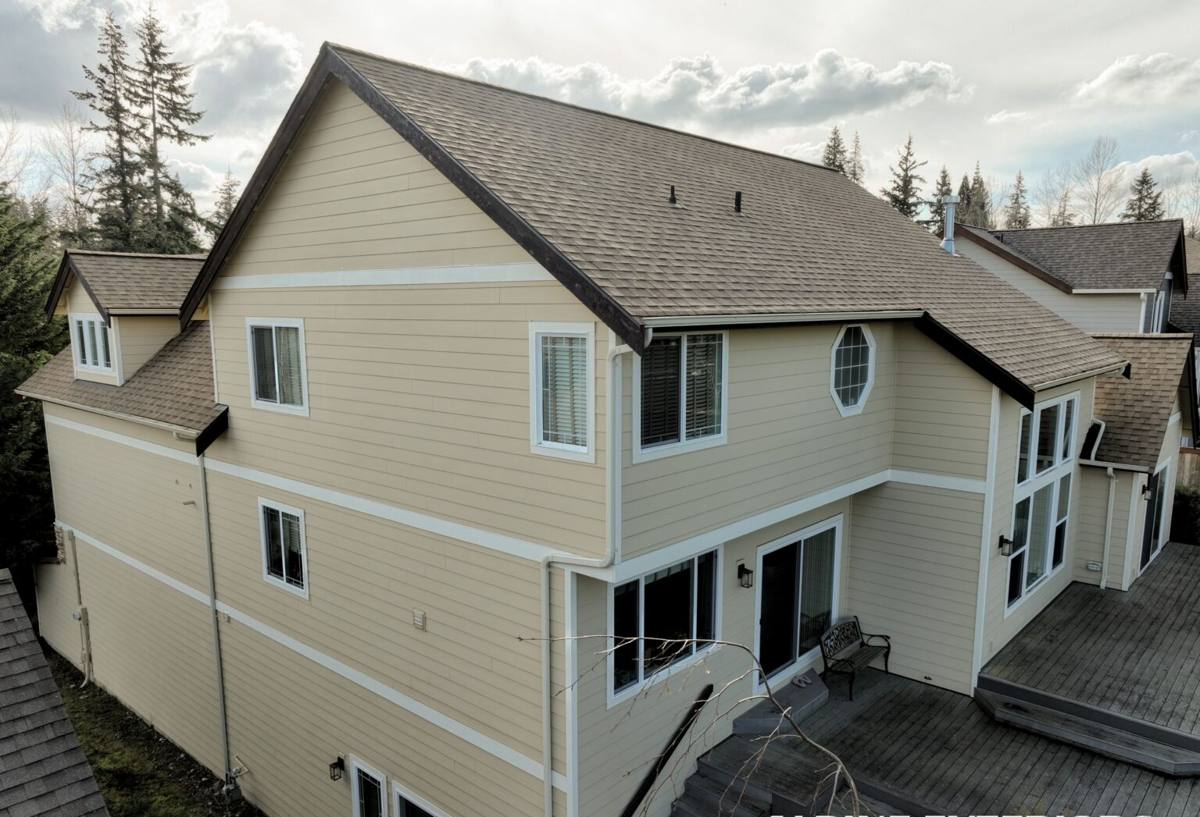
What Correct New-Construction Window Installation Actually Involves
"New construction" windows get their name from the nailing fin (or flange) around the frame, which fastens directly to the sheathing and gets integrated into the weather-resistive barrier (WRB) in a specific, layered order. Skipping steps or doing them out of sequence is the single most common source of water intrusion in new builds — not a bad window, but a badly sequenced install.
Rough Openings and Sill Pan Flashing
Every opening needs to be framed to the manufacturer's specified rough opening size, with the sill sloped or shimmed so water drains outward, not toward the house. A sill pan — a flashing membrane or rigid pan that catches any water that gets past the window — belongs under every opening before the window ever goes in. This is cheap insurance against a problem that's expensive to reverse once the wall is closed.
Integrating the Window with the Weather-Resistive Barrier
Flashing tape and the WRB need to be layered shingle-style: barrier paper laps over the flange at the top, tucks under it at the sides and bottom, so water always sheds downward and outward, never behind the layer below it. On a home exposed to the wind-driven rain that comes off the water near Marietta, this detail matters more than it would somewhere sheltered — wind can drive rain sideways and even slightly upward under eaves, so lazy flashing gets found out fast.
Fastening, Shimming, and Air Sealing
Windows need to be set plumb, level, and square, shimmed at the right points to avoid frame distortion, and fastened per the manufacturer's schedule — not just at the corners. After the window is set, the gap between frame and rough opening should be sealed with a proper low-expansion foam or backer rod and sealant, never packed solid with a can of spray foam, which can bow the frame and cause the sash to bind.
Salt Air, Driving Rain, and Moss: What They Do to New Windows
Homes going up near Marietta sit close enough to the water that airborne salt is a real factor in material selection and hardware life, not a theoretical one. A few things we account for on new builds in this area:
- Salt air accelerates corrosion on exposed fasteners, hinges, and low-grade hardware — we spec corrosion-resistant fasteners and hardware rated for coastal exposure rather than standard interior-grade parts.
- Driving rain finds every gap — this part of Whatcom County gets sustained wind-driven rain events, not just straight-down drizzle, so flashing laps and sealant joints get built assuming water will hit the window sideways, not just from above.
- Moss and algae growth on north-facing and shaded walls holds moisture against exterior trim and sills longer through the wet season, which is another reason sill pan flashing and proper drainage gaps aren't optional extras.
- Persistent humidity means any window installed with poor air sealing will show condensation and eventually interior trim damage well before it shows any exterior sign of a problem.
Energy Code, Egress, and Structural Requirements
New construction has to meet the Washington State Energy Code, which sets minimum U-factor and solar heat gain performance for windows based on the compliance path the builder is using for the whole house. On a new build, the windows are one line item in that calculation, so the U-factor rating you choose needs to match what's actually been submitted for the permit — swapping in a lower-performance window after the energy calc is done can create a compliance problem the builder has to fix.
Bedrooms and other sleeping rooms also have egress requirements — minimum clear opening width, height, and area, and a maximum sill height above the finished floor. These aren't flexible, and they need to be checked against the actual rough opening and window unit before framing is finalized, not caught during inspection.
| Requirement | What It Affects | When to Confirm |
|---|---|---|
| U-factor / SHGC | Whole-house energy code compliance | Before window order is placed |
| Egress clear opening | Bedroom and basement window sizing | During framing, before rough opening is set |
| Wind/water exposure rating | Frame and glazing durability near the water | During product selection |
| Tempered glass locations | Code-required safety glazing near doors, low sills, wet areas | Before window order is placed |
Our Process on a New-Construction Job in Marietta
- Plan review — we look at the window schedule against the actual framing plan and energy code path before anything is ordered, so rough openings and performance specs match.
- Coordination with the builder — we set a install window that lines up with the framing and WRB schedule, since windows need to go in before siding but after sheathing and building paper are ready.
- Sill pan and flashing prep — every opening gets sill flashing and a flashing plan before a window is set, not improvised on the spot.
- Setting the window — plumb, level, square, shimmed correctly, fastened per the manufacturer's schedule.
- WRB integration — flashing tape and building paper layered in the correct shingle order around the full opening.
- Interior and exterior seal — foam backer or rod and sealant at the frame gap, sized to allow for expansion without distorting the frame.
- Final walk with the builder — checking operation, seals, and flashing before siding closes the wall up.
New Construction vs. Replacement Installation
It's worth understanding why this is priced and scheduled differently than a retrofit — the two jobs solve different problems.
| New Construction | Replacement / Retrofit | |
|---|---|---|
| Access | Open stud bay, no existing siding or trim | Working around finished siding, trim, interior walls |
| Flashing | Full WRB integration, sill pan built from scratch | Ties into existing flashing, which may already be compromised |
| Frame type | Nailing fin (flange) frames | Often block-frame or insert units to fit existing openings |
| Timing | Coordinated with framing and siding crews | Standalone job, scheduled independently |
| Risk if done wrong | Hidden behind siding for years before it shows | Usually shows sooner since less is covered afterward |
What Drives Cost on a New-Construction Window Package
Costs on a new build vary quite a bit based on the house, so treat any number as a starting point for a conversation, not a quote.
| Factor | Why It Matters |
|---|---|
| Frame material (vinyl, fiberglass, wood-clad) | Affects upfront cost, maintenance, and long-term performance in salt air exposure |
| Number and size of openings | Larger units and more glass drive both material and labor cost |
| Performance package (U-factor, glazing options) | Higher-performance glass costs more but may be required by the energy path chosen |
| Egress and tempered glass requirements | Code-driven sizing and glazing can push certain openings to a different price tier |
| Site exposure | Wind and water-exposed elevations may warrant upgraded flashing details and hardware |
Choosing Windows and a Contractor for a Marietta Build
A few things worth confirming before you commit, whether you're the homeowner or working alongside a builder:
- Ask what frame material they'd recommend for a home exposed to salt air and driving rain, and why — the answer should be about maintenance and long-term performance, not just upfront price.
- Confirm they'll build a sill pan flashing detail at every opening, not just at "problem" locations.
- Ask how they sequence the WRB integration — a contractor who can describe the shingle-lap order confidently has done this correctly before.
- Get the U-factor and SHGC ratings in writing and confirm they match what's in the energy code submittal.
- Ask how they coordinate scheduling with your framer and siding crew — new-construction window work fails most often at handoffs between trades, not within a single trade's work.
- Check that egress and tempered glass locations have been reviewed against the actual floor plan, not assumed from a standard package.
Why a Crew That Already Works in Marietta Matters
A window installed correctly in a dry inland climate can still fail here if the crew doesn't build in the extra margin this coastal stretch of Whatcom County demands — the sealant that holds up fine somewhere sheltered, the fastener that's fine away from salt air, the flashing lap that's adequate against straight-down rain but not wind-driven rain off the water. None of that shows up on install day. It shows up two winters later, after the moss season and the storms have had time to find every shortcut. A crew that already works new construction around Marietta and Ferndale isn't guessing at what this climate requires — they're building to it as a matter of course, because they've seen what happens when it's skipped.
If you're planning a new build in or near Marietta and want a window package and installation plan sized to your actual site and framing schedule, we're happy to walk the plans with you and give you a straightforward, no-pressure estimate — just fill out the form below.