 Ferndale Window
 Why Install Day Planning Matters in Whatcom County
Window installation is one of those projects where the work itself might only take a day or two, but the outcome affects your home for the next 20-30 years. Get the flashing, sealing, and fit wrong, and you won't necessarily see it right away — you'll see it the first time a driving rain off Bellingham Bay pushes water sideways into a wall cavity, or the following winter when moss and mildew start creeping around a trim board that never quite dried out. In Ferndale, where salt air off the Strait, long wet winters, and a stubborn moss season all work against a building envelope, install day quality matters more than in drier climates. This page walks through what a homeowner should actually expect, hour by hour, so you know what good work looks like and what questions to ask.
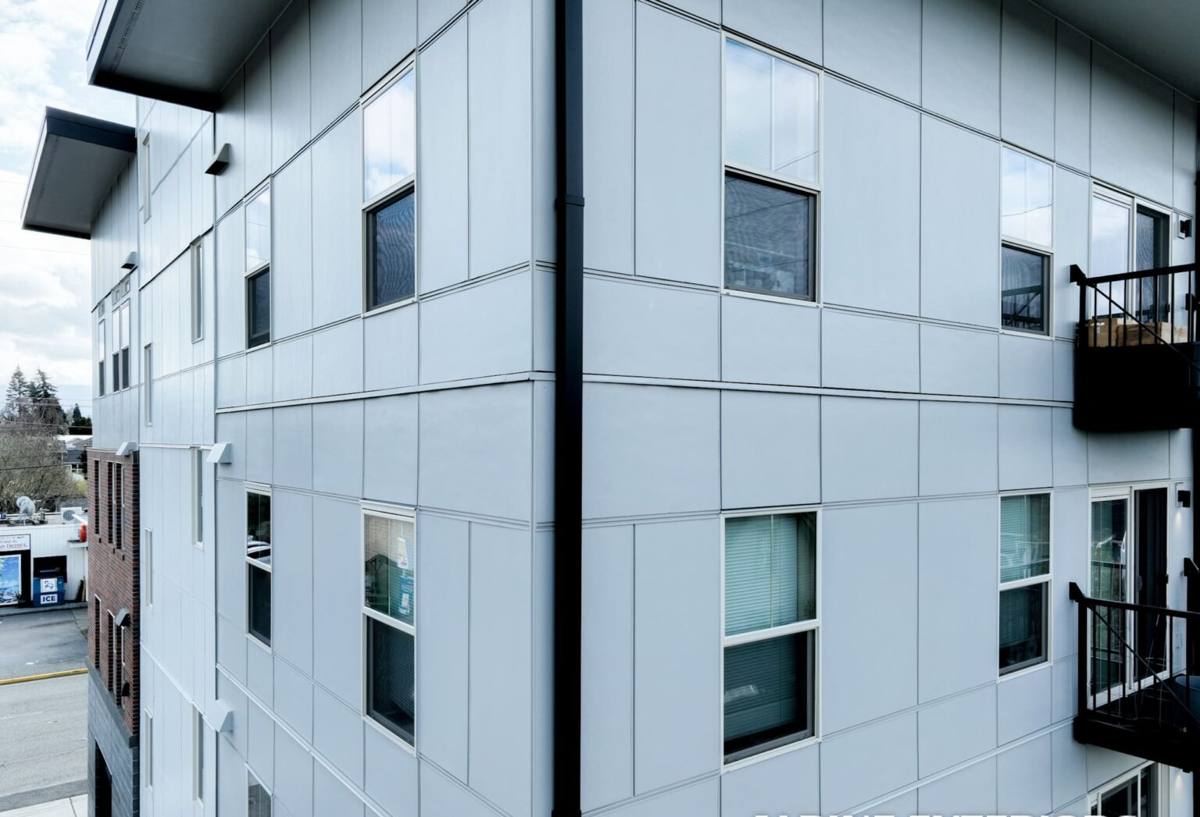
Before the Crew Arrives
What We Handle in Advance
By the time install day starts, the heavy lifting on paper should already be done. A reputable contractor will have taken precise field measurements (not just gone off the original builder specs), ordered windows to match, pulled any required permit, and scheduled around a weather window that gives the crew a reasonable shot at a dry work area. If your windows are custom sizes or special-order colors, expect several weeks of lead time between signing and install — that's normal and worth planning your calendar around, especially if you're timing this around a Whatcom County wet season.
What You Should Do the Day Before
- Clear a 3-4 foot working area inside and outside each window being replaced
- Take down blinds, curtains, and anything hanging near the window frame
- Remove wall décor, mirrors, or shelving on walls adjacent to the work — vibration from removal can jar things loose
- Move vehicles out of the driveway if a dumpster, trailer, or material staging area is needed
- Secure pets in a separate part of the house or offsite for the day
- Set aside anything fragile on windowsills or nearby furniture
The Typical Install Day Timeline
Every job is different depending on window count, siding type, and whether there's rot or structural surprises once the old window comes out. But most single-day residential jobs follow a similar rhythm.
| Time | What's Happening |
|---|---|
| Morning arrival | Crew walks the job with you, protects floors and landscaping, stages materials and tools |
| Mid-morning | Old windows removed one at a time (not all at once — see below), openings inspected |
| Midday | Flashing and moisture barrier work, new window set, leveled, shimmed, and fastened |
| Afternoon | Insulation around the frame, exterior trim and caulking, interior trim reinstalled |
| Late afternoon | Final walkthrough, cleanup, hardware check, debris hauled off |
A straightforward 8-12 window job typically runs one to two days. Larger whole-house replacements, or jobs involving fiber cement or brick that need extra care around the opening, can run longer. We'll give you a realistic estimate up front rather than a best-case number that we know won't hold.
One Window at a Time — On Purpose
A detail that surprises some homeowners: we don't remove every old window in the house first and then start installing new ones. Each opening is taken through the full removal-to-sealed sequence before we move to the next. That means your home is never sitting with multiple open holes in the wall at once, which matters a lot here — Ferndale weather can turn in the time it takes to eat lunch, and an open wall cavity during a surprise shower is how water damage happens on install day itself, not just years later.
What Happens Once the Old Window Comes Out
Inspecting the Opening
This is the point where a contractor either does right by you or doesn't. Once the old window is out, the rough opening is visible for the first time in years, sometimes decades. We check the sill, jambs, and header for rot, soft spots, or old water staining — a real risk in a county where wind-driven rain and long shoulder seasons of damp weather give moisture plenty of chances to find a way in around old flashing.
If We Find Rot or Water Damage
If damaged framing turns up, that's a conversation, not a surprise invoice. We'll show you what we found, explain the repair options, and give you a straight cost before doing anything beyond the original scope. Cutting corners here — installing a new window over compromised framing — just guarantees the same problem resurfaces, usually worse, in a few years.
Flashing and Moisture Barrier
This is the step that determines whether your new windows actually perform better than the old ones in a wet climate. Proper flashing — sill pan, side flashing, and head flashing integrated correctly with the house wrap or building paper — directs water back out instead of letting it wick into the wall assembly. It's not a visible feature once trim goes back on, but it's the single biggest factor in whether a window installation holds up to years of Whatcom County storms.
Setting and Sealing the New Window
- Window is set into the opening, checked for level, plumb, and square
- Shimmed at the proper points so the frame isn't relying on fasteners alone to hold shape
- Fastened per the manufacturer's schedule — enough attachment points to handle wind load without over-driving screws and distorting the frame
- Gaps around the frame filled with low-expansion foam or batt insulation, not packed so tight it bows the jambs
- Exterior sealed with a compatible sealant at the right joints — not just caulked everywhere, which can trap moisture instead of releasing it
Operable windows get tested for smooth operation and a tight seal in the closed position before the crew moves on. A window that looks fine but doesn't latch cleanly or seal evenly is a callback waiting to happen.
Interior and Exterior Finish Work
Interior trim, stops, and casing go back on (or new trim, if that was part of the scope), and any drywall or paint touch-up around the opening is addressed based on what was agreed to beforehand — this is worth clarifying at the estimate stage, since not every job includes full interior paint matching. Exterior trim gets sealed and, depending on your siding type, may need caulking or touch-up paint to blend with the surrounding material. If your home has fiber cement or wood siding exposed to salt-laden air off the water, we pay particular attention to sealing exposed cut edges, since that's where coastal air does the most damage over time.
Weather Calls and Rescheduling
Whatcom County doesn't give you many guaranteed dry stretches, especially outside summer. We plan install days around the forecast, but if rain moves in mid-job or looks likely to turn into a sustained soaking, we'll either work in smaller batches so no opening sits exposed, or reschedule the remaining windows for the next dry window. That's a judgment call made in the interest of your walls, not a scheduling inconvenience — an opening that gets rained into before it's sealed is a much bigger problem than a delayed finish date.
End-of-Day Walkthrough and Cleanup
What Cleanup Should Include
- All old windows, packaging, and debris hauled off site
- Work areas swept, vacuumed, or wiped down — inside and out
- Nails, screws, and small debris checked for in the yard and driveway (a magnetic sweep is a good sign of a careful crew)
- Landscaping and any protective coverings removed and put back
What to Check Before the Crew Leaves
- Every window opens, closes, and locks smoothly
- No visible gaps in exterior caulking or trim
- Interior trim is secure and finished to what was agreed upon
- Screens are on and fit correctly
- You understand any manufacturer warranty paperwork and registration steps
Walk the job with the crew before they leave. It's much easier to point out a sticking sash or a gap in caulking while the crew is still on site than to schedule a separate return visit.
After Install Day: What to Watch For
Give sealants a few days to fully cure before pressure washing anywhere near the new windows. During the first real rain after install, it's worth a quick look from inside — no drafts, no moisture at the sill, no fogging between panes. Given how much moss and mildew Ferndale's damp climate can grow on any surface that stays wet, keep an eye on the exterior trim and caulk lines over the following season and let us know if anything looks off. A legitimate installation should come with a workmanship warranty separate from the manufacturer's product warranty — ask for both in writing if you don't already have them.
If you're planning a window replacement and want a clear, no-pressure walkthrough of what your specific project would involve, we're happy to come take a look and give you a straight estimate — no obligation, just an honest read on your home and your options.