 Ferndale Window
 Building New in Lynden Means Getting the Window Install Right the First Time
New construction is the one chance to install windows correctly from the start, before drywall, siding, and paint cover up the details that matter most. In Lynden and the rest of Whatcom County, that first install has to account for a climate that doesn't let up: long stretches of driving rain off the Strait, wind that pushes moisture sideways into wall assemblies, and a moss season that stretches from fall through spring and never fully lets a roof or trim board dry out. Get the sequencing wrong at the framing stage and you're not looking at a cosmetic problem — you're looking at rot, mold, and warranty disputes years down the road, hidden behind finished walls.
This page is specifically about new-construction window installation for homes being built in the Lynden area — not window replacement in an existing house. The two jobs share a product line but almost nothing else in terms of process, sequencing, and what can go wrong.
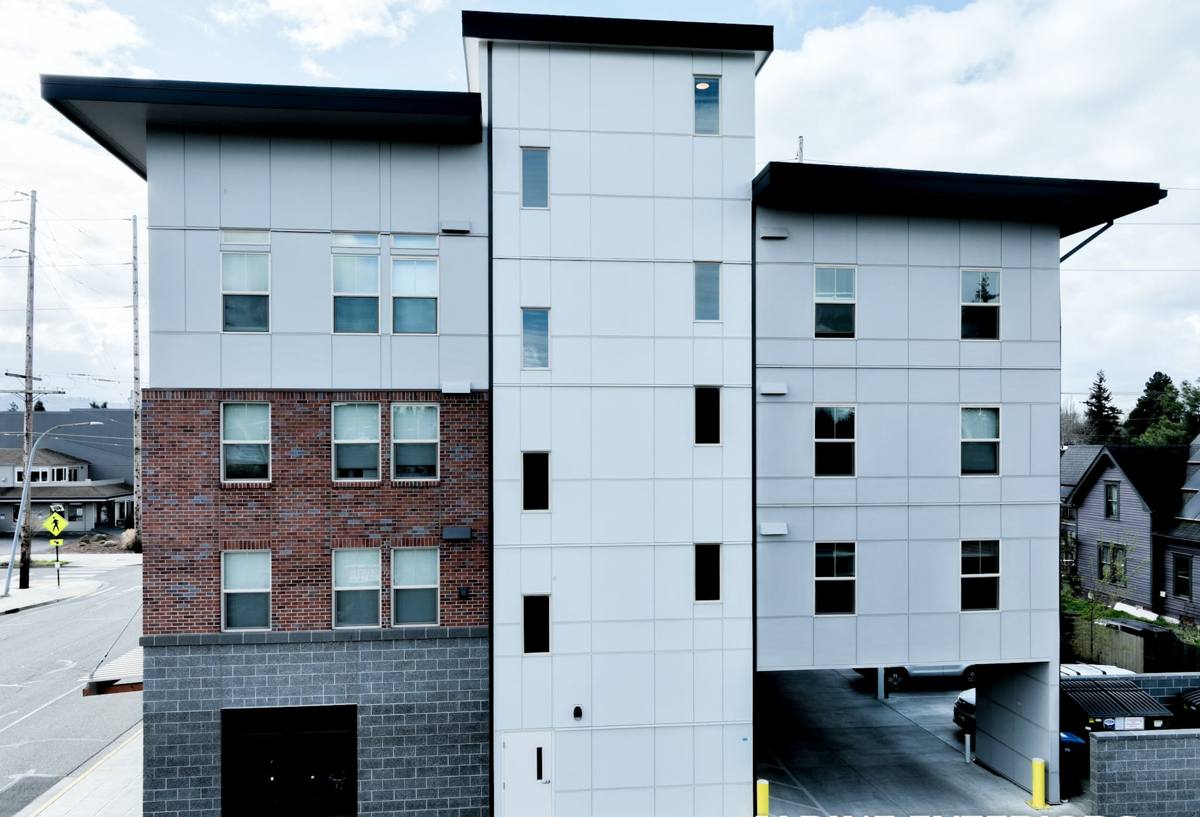
What Lynden's Climate Actually Demands from a New Window Package
Lynden sits inland from the coast, but it doesn't escape the weather pattern that shapes construction all along this part of Washington. Wind-driven rain is the biggest factor: storms coming off the water push water horizontally against exterior walls, which means every window opening is a potential entry point if the flashing isn't layered correctly. Add in a moss and mildew season that runs most of the year in this climate, and any spot where water can sit — a poorly sloped sill, a gap in house wrap, a fastener through the wrong layer — becomes a long-term problem instead of a one-time leak.
None of this means Lynden needs exotic window products. It means the installation details — flashing order, sill pan drainage, sealant placement — have to be done correctly every time, because the region's rainfall totals and humidity give installation mistakes more opportunities to turn into damage.
Why This Matters More in New Construction
On a remodel, a window is going into an opening that's already weathered, framed, and often has years of evidence about how water moves around it. On new construction, there's no track record — the opening is fresh lumber, the water-resistive barrier is brand new, and the whole assembly is being built for the first time. That's an advantage if it's done right, and a liability if it's rushed.
The Installation Sequence: Why Order Matters as Much as the Window Itself
A new-construction window install is really a sequencing job. The window is only one layer in a stack that includes the water-resistive barrier (house wrap), sill pan flashing, side and head flashing, and eventually siding. Each layer has to lap over the one below it, like shingles on a roof, so water is always directed outward and down — never trapped behind a layer where it can wick into framing.
- Sill pan flashing installed first, sloped to drain outward, before the window ever goes into the opening
- House wrap cut and integrated so it laps over the sill pan, not under it
- Window set with proper shimming for a square, level, plumb fit — not forced into an out-of-square rough opening
- Nail fin or flange fastened per the manufacturer's schedule, not "close enough"
- Side flashing tape applied over the fin, lapping the sill flashing
- Head flashing installed last, lapping over the side flashing and tucked behind the house wrap above
- Backer rod and sealant at the interior and exterior as specified — sealant is a backup, not the primary water barrier
Skip a step or do it out of order and the window can look perfectly installed while still funneling water into the wall cavity. This is the single most common source of new-construction window failures, and it has nothing to do with the window brand.
Choosing Windows for a New Lynden Home
New construction gives you more flexibility than a replacement project, since the rough openings are being framed to fit whatever product is specified rather than matched to an existing hole. That's the time to think about frame material, glazing package, and long-term maintenance — not just upfront cost.
| Frame Material | Upfront Cost | Maintenance | Moisture Behavior |
|---|---|---|---|
| Vinyl | Lowest | Minimal — no painting or sealing | Won't rot; performs well in wet climates when installed correctly |
| Fiberglass | Mid-to-high | Low — stable, holds paint well if refinished | Very stable dimensionally; strong choice for wind-driven rain exposure |
| Wood-clad | Highest | Higher — exterior clad protects wood, but seals and joints need periodic checking | Good performance if maintained; more sensitive to installation and long-term upkeep |
| Aluminum | Low-to-mid | Low, but conducts cold and can condensate | Prone to condensation in this climate without thermal breaks |
For most new builds in this area, we steer homeowners toward vinyl or fiberglass for the bulk of the house, both of which shrug off the rain and humidity here without demanding upkeep. Wood-clad has its place on homes where the look matters more than the maintenance schedule, but we're upfront that it's a bigger long-term commitment — that's a trade-off we explain honestly, not a product we discourage across the board.
Glazing and Energy Performance
Washington's energy code sets minimum U-factor requirements for new construction, and in a climate like Whatcom County's, it's worth exceeding the minimum rather than building to it. Double-pane, low-E glazing with argon fill is standard on most new builds we work on here; it cuts heat loss in the damp, overcast months that dominate the calendar and helps control interior condensation, which matters when a house is buttoned up tight during a long wet season.
Working With Your Builder or General Contractor
Window installation on a new build doesn't happen in isolation — it's one trade sequenced between framing, house wrap, and siding. Getting that timing right takes coordination:
- Windows measured and ordered off approved framed openings, not preliminary plans, to avoid on-site resizing
- Delivery timed so units arrive after the house wrap is up but before siding crews need clear access
- Flashing details agreed on with the builder ahead of time, especially where window install and siding install responsibilities overlap
- A walkthrough with the GC or site super before drywall closes up the opening, so any flashing issue is caught while it's still visible
We're used to working directly with builders and general contractors on new-construction schedules in Lynden and the surrounding area, which means fewer delays waiting on us and fewer surprises for the framing or siding crews on either side of our work.
Our Process for New-Construction Window Installs
1. Plan Review and Ordering
We review the window schedule against the actual framed rough openings, confirm sizes and swing/operation types, and place orders with enough lead time to avoid holding up the build.
2. Pre-Install Walkthrough
Before a single window goes in, we check that openings are square, house wrap is properly lapped, and sill conditions are ready for flashing — catching framing issues now is far cheaper than after siding is on.
3. Flashing and Installation
Sill pans, window setting, fin fastening, and side/head flashing go in in the correct order, using materials rated for this region's rainfall exposure.
4. Interior and Exterior Detailing
Shimming, insulation of the gap between frame and rough opening, interior air sealing, and exterior sealant are finished so the assembly performs as a system, not just a window sitting in a hole.
5. Final Walkthrough
We walk the openings with the builder or homeowner before they're covered by siding or drywall, so everyone signs off on the same visible details.
A Pre-Drywall Checklist Worth Asking About
Whether we're doing the install or you're vetting another crew, these are the things worth confirming before walls close up:
- Sill pan flashing present and sloped to drain outward
- House wrap correctly lapped over the sill pan, under the head flashing
- Window shimmed square, level, and plumb — not just fastened tight
- Fastening schedule matches the manufacturer's instructions for that specific product
- Side and head flashing lapped in the correct order (bottom to top, like shingles)
- Gap between frame and rough opening insulated, not left as a thermal and air gap
- Interior air sealing done before drywall, exterior sealant done before siding
Why a Crew That Already Works in Lynden Makes a Difference
New-construction window details aren't universal — what a house needs in a dry inland climate is different from what holds up here, where wind-driven rain and a long moss season put real, ongoing pressure on every joint and lap in the assembly. A crew that installs windows regularly in Lynden and the rest of Whatcom County has already seen where generic installation instructions fall short in this weather, and adjusts flashing details and sealant choices accordingly rather than treating every job as identical to one done somewhere drier.
That familiarity also means fewer surprises for builders: we know what local building departments expect to see at inspection, we're used to the pace of framing-to-siding turnaround on builds in this area, and we're not learning the region's climate quirks on your project.
If you're framing a new home in Lynden and want the window package planned and installed right the first time, we're happy to walk your plans, talk through product options, and give you a straightforward, no-pressure estimate — just fill out the form below to get started.