 Ferndale Window
 Building New in Lummi Nation: What the Windows Need to Do From Day One
Putting windows into a new build is a different job than swapping out old ones. There's no existing frame to work around, no old flashing to inspect and correct — just a rough opening, a building wrap, and one chance to get the water management right before siding closes it all up. In Lummi Nation, that first chance matters more than in a lot of places. Homes here sit close to Bellingham Bay and the Strait of Georgia, which means salt-laden air, wind-driven rain off the water, and a long wet season that keeps north- and west-facing walls damp for months at a time. Windows installed correctly on day one can shrug all of that off for decades. Windows installed with shortcuts start showing it within a few winters — sash corrosion, sill rot, stains bleeding through paint, or a slow drip nobody notices until the wall cavity is already wet.
We install new-construction windows for builders and owner-builders working in and around Lummi Nation, and we size the job — materials, flashing sequence, hardware — around this specific stretch of coastline, not a generic install spec.
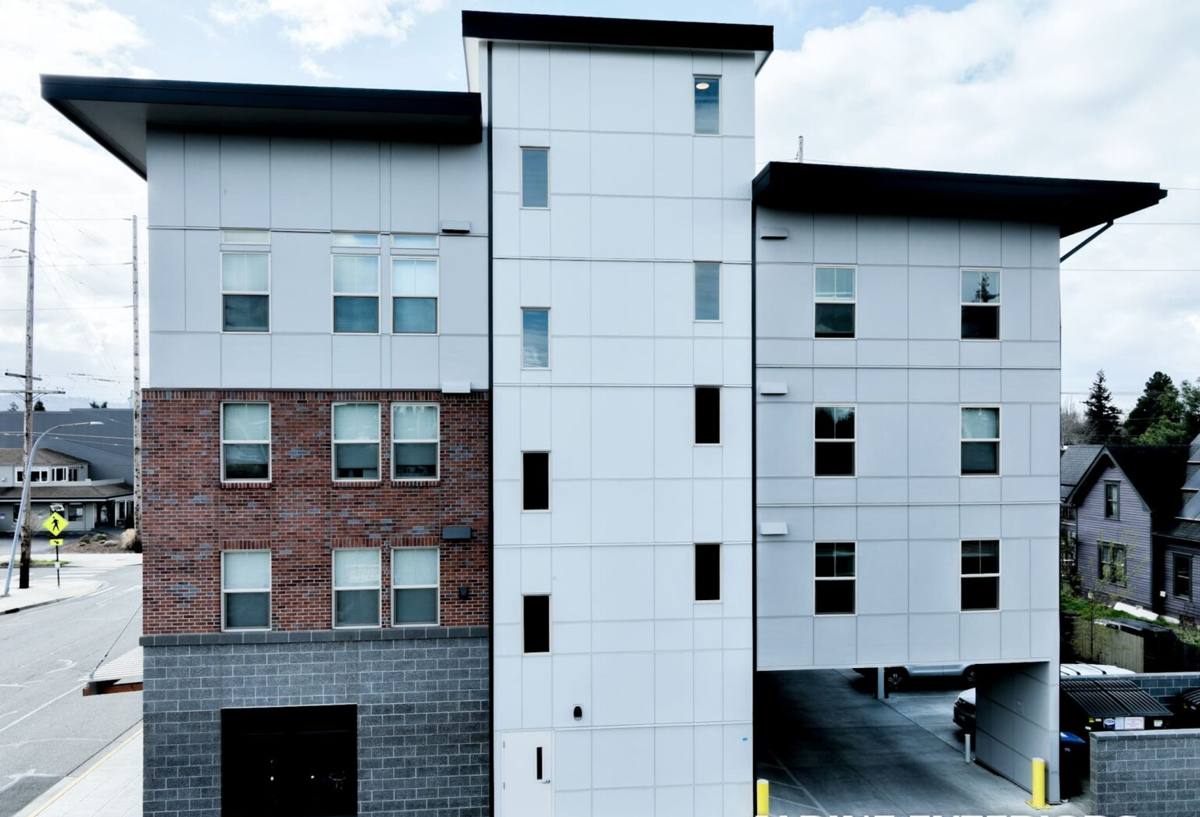
New Construction vs. Replacement: Why the Job Isn't the Same
Rough Opening Tolerances
On a replacement job, the frame is already there and the install has to work around it. On new construction, we're setting the window into a rough opening built to spec, which means the tolerances actually matter — too tight and the window can bind or bow the frame under wind load; too loose and shimming has to carry more of the structural and air-sealing burden than it should. We check opening dimensions against the window schedule before anything gets set, not after.
Flashing Sequence, Not Just Flashing
Anyone can staple a strip of tape around a window. The part that actually keeps water out is the sequence — sill pan first, then side flashing lapped over the pan legs, then the window, then head flashing lapped over the water-resistive barrier so everything drains down and out, never in. On a new build we control that entire sequence start to finish, which is the real advantage over retrofitting flashing into an existing wall. Get the order wrong and the window can look perfectly installed while quietly feeding water into the framing.
What Salt Air, Driving Rain, and Moss Season Do to a Window Over Time
Whatcom County's marine climate is mild, which is part of why people build here — but mild doesn't mean gentle on materials. Three things wear on windows specifically in this area:
- Salt air corrosion — airborne salt from the bay accelerates corrosion on unprotected fasteners, hinges, and lower-grade aluminum hardware, especially on west- and southwest-facing elevations that catch onshore wind.
- Driving rain — wind-driven rain doesn't just fall on a window, it pushes sideways into any gap in the flashing or sealant, which is why sill pan and flashing detailing matter more here than in a dry inland climate.
- Extended moss and mildew season — shade, moisture, and mild temperatures let moss and mildew establish on sills, cladding, and trim for much of the year, holding dampness against the frame longer than in areas that get a hard dry stretch.
None of this means new construction here needs exotic materials. It means the ordinary details — pan flashing, corrosion-resistant fasteners, a frame material that tolerates sustained moisture contact — have to actually be done right, every time, because the climate doesn't give a poorly built assembly much of a break.
Choosing a Frame Material for a New Build Here
There's no single "best" window for every new build — it depends on budget, exposure, and how the home is finished. Here's how the common frame materials hold up under Whatcom County's coastal conditions:
| Frame Material | Salt Air / Moisture Behavior | Maintenance | Typical Fit |
|---|---|---|---|
| Vinyl | Doesn't corrode; performs well in salt air; can expand/contract with temperature swings | Low — occasional cleaning | Cost-conscious builds, most elevations |
| Fiberglass | Very stable dimensionally, strong moisture and corrosion resistance | Low | Higher-exposure walls, larger openings |
| Wood-clad | Good performance if cladding and seals stay intact; exposed wood at joints is vulnerable to sustained damp | Higher — needs inspection of seals and finish | Interior-visible wood look where exterior is fully clad and protected |
| Aluminum | Prone to corrosion in salt air unless marine-grade and properly finished; conducts cold, prone to condensation | Moderate to high depending on finish | Limited use; we're selective about where we recommend it here |
We're not tied to one brand or material — we'll walk through what fits your plans, your budget, and which walls actually face the weather, and give you a straight answer on the trade-offs instead of steering you toward whatever's easiest to install.
Our New-Construction Installation Process
The process is the same core sequence on every job, adjusted for the specific window schedule and elevation exposures:
- Rough opening check. Verify dimensions, plumb, level, and square against the window schedule before delivery day.
- Sill pan flashing. A sloped, sealed pan under every opening so any water that gets past the window sheds back outside the wall, not into the framing.
- Set and shim. Window set to the opening, shimmed for square and plumb, fastened per manufacturer spec — not just "close enough."
- Side and head flashing. Integrated with the building wrap in the correct shingle-lap order so water always drains down and over, never behind.
- Air seal and insulate. Gaps sealed and insulated around the frame without over-compressing it, which can distort the sash and cause it to bind or leak air.
- Final check. Operation, seal, and squareness confirmed before the wall closes up around it — this is the last easy chance to catch a problem.
Coordinating With Your Builder or Trade Schedule
New-construction window installation sits in the middle of a tight sequence — framing has to be done and squared, the weather-resistive barrier has to be on, and siding or stucco crews are usually waiting right behind us. We work directly with general contractors, framers, and owner-builders to slot into that schedule without becoming the bottleneck, and we flag rough-opening or framing issues before install day rather than discovering them with a truck full of windows on site. If you're managing your own build, we can also walk the window schedule with you ahead of time so sizes, swing directions, and egress requirements are locked in before ordering.
Energy Performance and Washington Code
New builds in Washington have to meet current state energy code requirements for window U-factor and solar heat gain, and those numbers vary by climate zone and how much glazing area is in the plans. On a new build we're not retrofitting around an existing code compliance path — we help confirm the window specs on the plans actually meet code for this zone before ordering, so there's no surprise at inspection. Beyond code minimums, a well-chosen window package also cuts down on condensation risk on interior glass during our wetter, cooler months, which matters as much for comfort and mold prevention as it does for the energy bill.
Before Windows Go In: A Practical Checklist
- Rough openings verified plumb, level, square, and matched to the window schedule
- Weather-resistive barrier installed and lapped correctly at each opening
- Sill pan flashing planned for every opening, not just the most exposed walls
- Frame material confirmed against elevation exposure (west/southwest walls get closest scrutiny)
- Fasteners and hardware specified for corrosion resistance, not just cost
- Egress requirements confirmed for bedrooms and other code-required openings
- U-factor and solar heat gain values checked against current state energy code for this zone
- Installation timeline coordinated with framing completion and siding start
Why It Matters to Hire a Crew That Already Works in Lummi Nation
A window installer who mostly works inland doesn't necessarily think about salt air corrosion, extended moss season, or how much punishment a west-facing wall takes off the water — because they don't have to, most of the time. Working new construction in and around Lummi Nation and the rest of Ferndale means building those considerations into every install as a default, not an afterthought brought up after something fails. It also means being familiar with the practical realities of building near tribal land and along this stretch of Whatcom County — coordinating with whichever building and permitting authority applies to your specific site, and not assuming a one-size-fits-all process. We'd rather ask early and confirm than guess.
If you're planning a new build in Lummi Nation and want windows specified and installed right the first time, we're happy to walk the plans with you, talk through material options for your exposure, and give you a straightforward, no-pressure estimate — just fill out the form below.