 Ferndale Window
 Building New on Lummi Island: What the Climate Demands of Your Windows
Lummi Island sits out in the marine air of the Salish Sea, and that changes the calculus for a new-construction window package. You're not just fighting rain the way a homeowner further inland might — you're dealing with near-constant salt-laden air, driving rain that comes sideways off the water during winter storms, and a damp, shaded moss season that can stretch for months. A window that would perform fine in a subdivision a few miles east in Ferndale or Bellingham can wear out faster out on the island if it wasn't selected and installed with that exposure in mind.
For a new build, this is actually good news: you get to make the right decisions before drywall goes up, rather than tearing out and correcting them later. The frame material, the glazing package, the flashing detail at the rough opening — all of it can be specified correctly from day one. That's the advantage of doing it right during construction instead of as a retrofit.
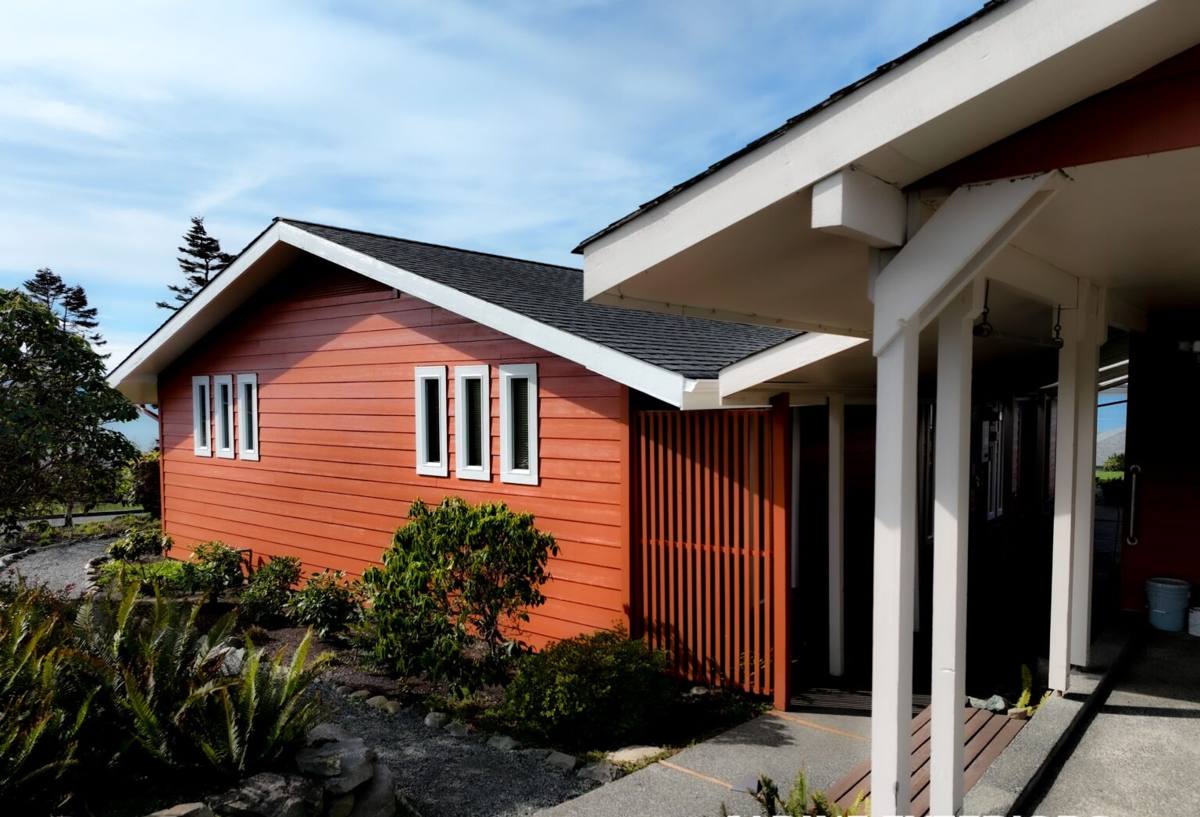
New-Construction Windows vs. Replacement Windows: Why the Install Method Matters
New-construction windows have a nailing fin (sometimes called a flange) that gets fastened directly to the sheathing and integrated into the building's weather-resistive barrier before siding goes on. This is different from a replacement or "pocket" window, which gets inserted into an existing frame after the exterior is already finished. On a new build, we get to install the window as part of the wall assembly itself — flashing tape, drainage plane, and sealant all layer together in the correct order.
That sequencing matters more here than in a lot of places, because a poorly integrated flashing detail on a coastal, rain-exposed wall doesn't just cause a slow drip — it can let wind-driven rain punch water past the window and into the wall cavity during a real winter blow. On Lummi Island, where storms come off open water with little to break the wind, that's not a hypothetical. We treat flashing sequencing as the single most important part of a new-construction install, more important than the brand of window going in.
What a Correct New-Construction Window Install Involves
Rough Opening & Flashing
Before a window ever gets set, the rough opening needs to be square, properly sized, and prepped with a sill pan flashing that directs any water that does get past the window back out to the exterior — not down into the framing. We install a sloped or flashed sill pan on every opening, not just the ones facing weather, because on an exposed island lot, wind can drive rain onto walls that wouldn't normally take much water.
Nailing Fin Integration with the Weather-Resistive Barrier
The window's nailing fin has to be woven into the house wrap in the correct shingle-lap order — building paper or wrap over the top flange, flashing tape over the side and bottom flanges — so that water draining down the wall always moves over the top of a lower layer, never behind it. Get this order backward and you've built a water trap into the wall that won't show up as a problem until years later.
Sealing & Weatherproofing
Interior and exterior sealant beads, backer rod where gaps are wide, and insulation in the shim space around the frame all matter for both moisture control and energy performance. We don't just caulk the exterior trim and call it done — a window that's air-sealed on the interior side too performs noticeably better against Whatcom County's damp winters.
Choosing Window Materials and Glass for Salt Air and Driving Rain
There's no single "best" window material for every project — it depends on your budget, your home's design, and how much maintenance you want to take on. Here's how the common options actually perform under island exposure conditions:
| Frame Material | Coastal / Salt-Air Performance | Maintenance | General Cost Position |
|---|---|---|---|
| Vinyl | Doesn't corrode from salt air; performs well in most coastal settings | Low — occasional cleaning | Lower |
| Fiberglass | Very stable in temperature swings and moisture; strong coastal track record | Low | Mid to higher |
| Aluminum-clad wood | Good weather resistance on the exterior face, but cladding seams and any exposed fasteners need to be genuinely corrosion-resistant near salt air | Moderate — exterior is low-maintenance, interior wood may need periodic finish care | Higher |
| Bare wood | Handsome, but the most exposed to moisture and rot risk in a marine climate without diligent upkeep | High | Higher |
For glazing, we typically recommend a dual-pane, low-E unit with argon fill as a baseline for new construction in this area — it's a reasonable balance of energy performance and cost for our climate. Homes with more direct wind and rain exposure, or window walls facing open water, are worth discussing case by case; sometimes it's the glazing package, sometimes it's the overhang or trim detail around the window that needs the extra attention.
Coordinating with Your Builder: Our Process for New Construction on the Island
New-construction window work is a scheduled trade — we're one link in a chain that includes your framer, your siding crew, and often your general contractor. Our process for a Lummi Island build typically looks like this:
- Review the window schedule and rough opening sizes against the plans before framing is finalized, so any sizing conflicts get caught early.
- Confirm product selection and lead times — some window lines run longer lead times than others, and island scheduling has less room for last-minute substitutions.
- Coordinate install timing with the framer and weather barrier installer so windows go in at the right point in the sequence, not before the wall is ready or so late that the house sits open to weather.
- Install and flash each opening, then walk the job with the builder before siding closes it in — this is the point where flashing errors are cheap to fix and expensive to fix later.
Because we're used to working alongside general contractors rather than only doing standalone replacement jobs, we build our schedule to fit into the broader project timeline rather than asking the builder to fit around us.
Ferry Logistics: Why an Island-Experienced Crew Matters
Lummi Island is served by a small ferry, and that reality shapes how construction trades have to operate out there. A crew that hasn't worked the island before can lose real time to ferry schedules, load limits, and the simple fact that you can't run back to the shop for a forgotten part. We plan material deliveries and crew trips around the ferry schedule, batch what we need for a full day or more on-site, and build that logistics buffer into our timeline estimate up front — so it doesn't become a surprise delay mid-project. This is one of the more overlooked reasons to hire a contractor who already has island jobs under their belt rather than one quoting the job like it's a standard mainland lot.
Energy Code, Egress, and Permitting Considerations in Whatcom County
New-construction windows in Whatcom County have to meet Washington State's energy code requirements, which set minimum performance standards for the glazing and frame assembly as part of the overall building energy budget. Bedrooms and other habitable spaces also have egress requirements — minimum opening size and sill height — that need to be accounted for at the window-selection stage, not discovered during inspection. We work from the approved plans and, where there's ambiguity, coordinate with your builder or the county on what a given opening needs to meet code before we order product, so you're not stuck swapping a window after it's already installed.
Maintenance After Move-In: Keeping Moss and Salt from Shortening Window Life
Even a correctly installed window benefits from a little seasonal attention out here. A short list that actually makes a difference over the life of the windows:
- Rinse exterior frames and glass periodically to clear salt residue, especially on walls that face open water or prevailing wind.
- Keep gutters and any horizontal trim above windows clear of moss and debris so water isn't pooling and running down the face of the window during long wet stretches.
- Check exterior caulk lines once a year for cracking or separation — small gaps are easy to reseal before they let water behind the trim.
- Operate and lubricate hardware (locks, hinges, rollers) a couple of times a year so moving parts don't seize up from humidity.
- Watch for soft spots in exterior wood trim around windows, which is often the first visible sign of a moisture issue worth investigating early.
None of this is complicated, but skipping it in a climate like ours is how a well-installed window ends up needing early attention it shouldn't.
Why Hire Ferndale Window Co for Your Lummi Island New Build
We're based in Ferndale and work throughout Whatcom County, including Lummi Island new-construction projects, so we already understand what the ferry schedule means for your timeline, what the marine exposure means for material choice, and what a correct flashing detail looks like on a wall that's going to take real wind-driven rain every winter. We'd rather talk through your plans honestly — including where a lower-cost option is genuinely fine and where it isn't — than oversell a package you don't need.
If you're framing up a new home on Lummi Island or planning one, we're happy to walk through your window schedule with you and put together a straightforward, no-pressure estimate. There's a form below — reach out and we'll go from there.