 Ferndale Window
 Installation Is Where a Sumas Siding Job Succeeds or Fails
Most of what decides whether siding lasts thirty years or starts failing in five isn't the material itself — it's how it went on the wall. That's true anywhere, but it matters more on a Sumas property than on a lot of homes closer to the water or further inland toward the Cascades foothills. Sumas sits out on the flat farmland of the Sumas Prairie, right against the Canadian border, and that setting brings driving rain that arrives sideways more often than straight down, a long moss season that can run most of the year on shaded walls, and low-lying ground that holds moisture longer than a well-drained hillside lot would. Installation shortcuts that might go unnoticed for years on a sheltered, well-drained property tend to surface faster here, because the conditions doing the testing are more persistent.
This page is specifically about siding installation for Sumas homes — new construction and full re-siding, not spot repair — and what separates a correct job from one that just looks finished the day the crew packs up. We install James Hardie fiber cement exclusively, and everything below assumes that system, since it's the only one we install to spec on homes in this part of Whatcom County.
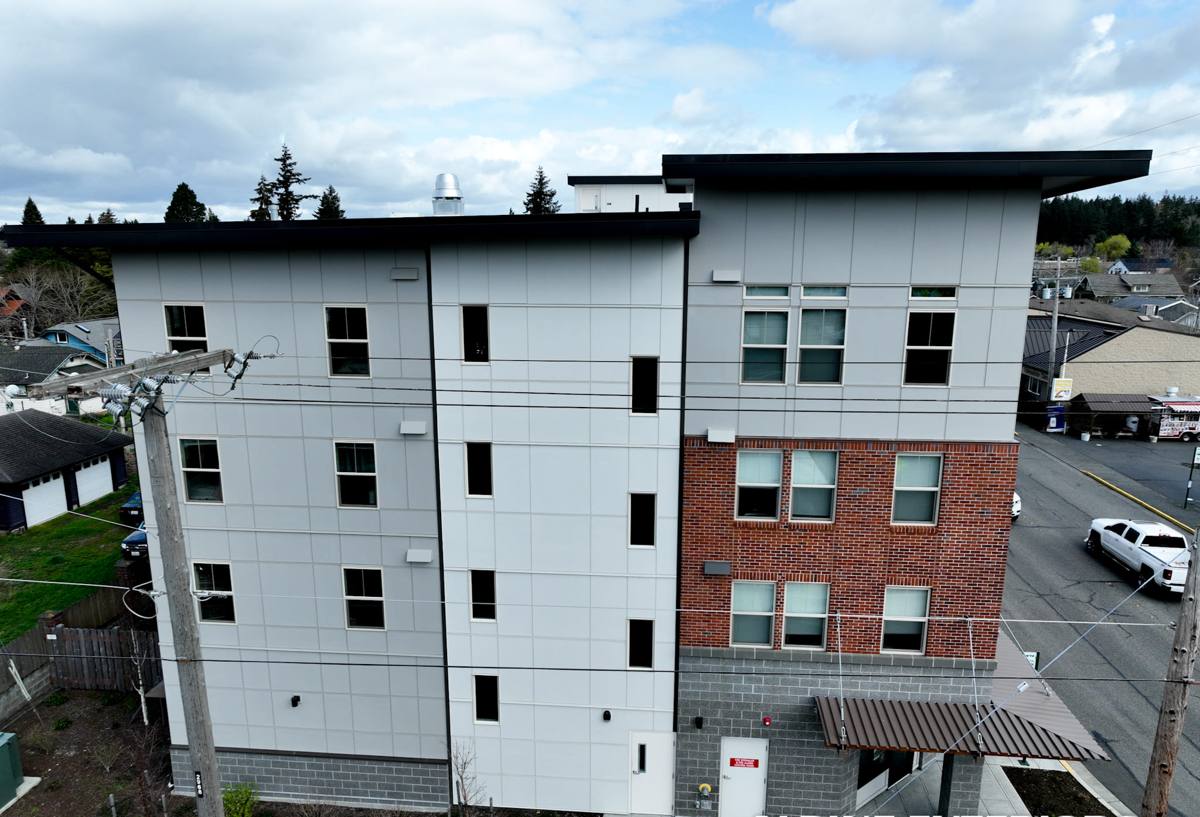
What Sumas's Climate Demands From an Installation
Driving Rain on a Flat Valley Floor
Storms moving through the valley push rain sideways into wall assemblies rather than letting it run straight down and off, and on flat, low-lying ground that moisture doesn't drain away the way it would on a graded hillside lot. An installation that's detailed for straight-down rain — rather than wind-driven rain hitting a wall at an angle — tends to show water damage first at panel joints, corners, and anywhere flashing is doing less work than it should.
A Long Moss and Mildew Season
Persistent regional dampness and mild temperatures add up to a moss season that stretches across much of the year on shaded and north-facing walls in this part of the county. Installation detail affects how much of a problem that becomes: proper clearance at the bottom of the wall, a working drainage plane, and siding that isn't installed tight against trim all give a wall the chance to dry out between wet spells instead of staying damp continuously and growing something on the surface.
Cold Outflow Wind and Freeze-Thaw Cycling
Because of its position at the head of the valley near the border, Sumas sees more cold outflow wind events and harder frosts than towns closer to the water. Those events add real wind load during installation and, once a home is finished, put any moisture that's found its way into a wall assembly through a freeze-thaw cycle that accelerates cracking and material failure. An installation that skips fastening or sealing details because "it usually doesn't rain that hard" is making a bet that doesn't hold up well here.
What a Correct James Hardie Installation Actually Involves
Fastening and Spacing
James Hardie publishes exact fastener type, spacing, and placement requirements, and they vary by product line and exposure. Following that spec — not an abbreviated version of it — is what keeps panels secured through wind events and what keeps the manufacturer's warranty valid if a problem ever comes up down the line.
Clearance Above Grade
Hardie specifies minimum clearance between the bottom of the siding and grade, decks, and roofing. On a flat valley property where the ground itself holds moisture longer after a storm, that clearance is one of the more important details in the whole installation — it's what keeps the bottom courses of siding from sitting in standing water or splash-back after every rain event instead of just the occasional one.
Flashing and Sealant at Every Penetration
Windows, doors, hose bibs, vents, and light fixtures all interrupt the plane of the siding, and each interruption is a place water can get behind the cladding if it's flashed or sealed incorrectly. This is the slowest, least visible part of an installation, and it's the part that determines whether a wall stays dry behind the siding for decades or starts trapping moisture within a few wet seasons.
Field-Cut Edges
Any time a panel is cut on site — around a window, at a corner, at the end of a run — that cut edge needs to be sealed or primed to Hardie's specification before it goes up. An unsealed cut edge is one of the more common places fiber cement siding actually takes on water, and on a property that stays damp as long as a Sumas lot does, an unsealed edge doesn't get much of a break between exposures.
Installation Mistakes That Fail Fastest on a Sumas Property
| Shortcut | What it looks like on install day | How it shows up later on a Sumas home |
|---|---|---|
| Skipped clearance at grade | Siding looks flush and tidy | Wicking, softness, and paint failure at the bottom courses on low-lying ground |
| Rushed or taped-over window flashing | Looks sealed from outside | Hidden moisture intrusion, often not visible until interior staining shows up |
| Unsealed field-cut edges | Cuts look clean and painted over | Localized swelling or delamination at the cut, especially on rain-facing walls |
| Panels installed tight with no drainage gap | Appears well-fitted and neat | Trapped moisture, persistent moss, and slower drying between the valley's wet spells |
| Standard fastening pattern regardless of exposure | No visible difference on install day | Loosened panels or callbacks after an outflow wind event |
How We Handle a Sumas Installation, Step by Step
Site and Exposure Assessment
Before anything is priced, we walk the property and look at how each wall is exposed — which faces take the most direct wind-driven rain, which sit in shade or under tree cover long enough to stay damp, and where existing staining or soft trim suggests a chronic moisture problem rather than a one-time issue.
Tear-Off and Sheathing Check
Old siding comes off and the sheathing underneath gets inspected before any new material goes up. Installing new siding over damaged sheathing just buries the problem for a few years; we'd rather find and address rot or soft spots at this stage, even if it adds a step to the schedule.
Weather Barrier Installation
The water-resistive barrier goes on with proper overlap and taped seams at every joint and penetration, before flashing and siding go up over it. This layer does most of the actual work of keeping wind-driven rain out of the wall assembly, and it's completely hidden once the job is finished — which is exactly why it can't be the part that gets rushed.
Siding Installation to Manufacturer Spec
Panels go up following Hardie's fastening, spacing, and clearance requirements as the baseline, not as an upgrade option. Field cuts are sealed as they're made, not batched and finished at the end of the day.
Final Walkthrough
We walk the completed job with the homeowner, confirm the work matches what was estimated, and go over what basic seasonal maintenance looks like on a property that sees this much sustained moisture and a long moss season.
New Construction vs. Re-Siding an Existing Sumas Home
Installing siding on new construction and re-siding an existing Sumas home are related jobs with real differences. New construction means installing onto fresh sheathing and a new water-resistive barrier, with no unknowns underneath — the sequence still matters, but there's no guesswork about what's hiding behind the wall. Re-siding an older home means tear-off, an honest look at what the original construction and any prior repairs left behind, and sometimes correcting older detailing — inadequate clearances, missing flashing, or a barrier that was never installed properly — before new siding goes up. Both require the same attention to spec; re-siding just adds a discovery phase that new construction doesn't have, and on a rural or agricultural property that's held moisture against a wall for years, that discovery phase can matter quite a bit.
Timeline and Cost Factors for a Sumas Installation
| Factor | Why It Matters Here |
|---|---|
| Square footage and number of stories | More area and height mean more labor and, on taller walls, more staging and access equipment |
| Trim and roofline complexity | Homes with more windows, dormers, and roof transitions require more flashing and cutting work |
| Sheathing condition underneath old siding | Long-term trapped moisture on a low-lying lot can rot sheathing and framing before it's ever visible from outside |
| Site access | Rural and agricultural Sumas properties can have longer driveways or wider staging needs than an in-town lot |
| Fastening and clearance spec for the exposure | Outflow wind events near the border can call for tighter fastening patterns than a sheltered site further west |
Weather windows also affect scheduling more directly here than in milder parts of the county — a cold outflow event or a stretch of sustained rain can shut down safe panel handling and sealant work on days that would otherwise be workable, so we build some flexibility into a project timeline rather than promising a fixed date a bad stretch of weather is likely to break.
A Checklist for a Correct Installation
Whether you're evaluating our work or getting a second opinion from another contractor, these are reasonable things to confirm before a siding installation is considered finished:
- Documented clearance between the bottom of the siding and grade, decks, and roofing
- Flashing visible and properly lapped at every window, door, and wall penetration before siding covers it
- All field-cut edges sealed or primed, not left raw
- A continuous, properly lapped water-resistive barrier underneath the siding
- Fastening pattern that follows the manufacturer's published spec for this wind exposure, not a generalized approach
- Sheathing inspected and any rot or soft spots addressed before new siding goes up, not buried under it
- A final walkthrough where the contractor explains what was done, not just a final invoice
Why a Crew That Already Installs in Sumas Matters
Installation quality on paper and installation quality in practice aren't always the same thing, and the gap tends to show up fastest on a property that holds moisture as long as a flat Sumas lot does. A crew that regularly works this part of the valley makes different judgment calls than one installing here occasionally between jobs elsewhere — which wall orientations stay wet longest, where extra flashing attention is worth the time, and which fastening details genuinely can't be skipped regardless of schedule pressure. That kind of judgment comes from doing this work repeatedly on real homes in this specific border-valley setting, not from a generalized installation checklist applied the same way on every job regardless of where the house sits.
If you're planning new siding for a Sumas home, or want a straightforward second opinion on whether an existing installation was done correctly, we're glad to come take a look. Reach out using the form below for a free, no-pressure estimate.